
Important Sidenote: You may need to download the resource packs and installing it before joining to minimize errors. It’s as simple as downloading and double-clicking to install for IOS, Android, Windows, and MAC OS.
Whether you’re on Windows 10, Xbox, PlayStation, Nintendo Switch, or mobile (iOS/Android), you can join servers using these steps.
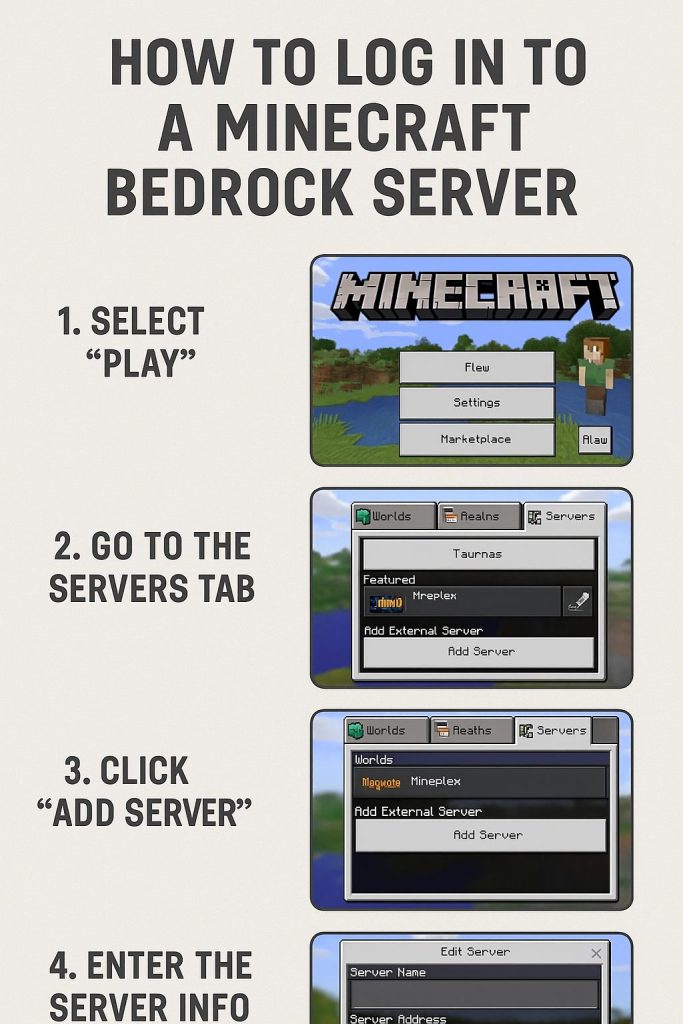
✅ Step 1: Open Minecraft Bedrock Edition
- Launch Minecraft on your device.
- Make sure you’re logged in with your Microsoft/Xbox Live account.
🖼️ [Image to follow: Minecraft main screen]
✅ Step 2: Click on the “Play” Button
- On the main menu, click Play.
- This takes you to your Worlds / Friends / Servers tab.
🖼️ [Image to follow: Play menu with Servers tab visible]
✅ Step 3: Go to the “Servers” Tab
- Tap the Servers tab on the top/right side.
- You’ll see featured servers (like Hive, Lifeboat, etc.).
🖼️ [Image to follow: Servers list with “Add Server” option visible]
✅ Step 4: Add Your Server
If your server is not listed under Featured Servers, you’ll need to add it manually.
- Scroll to the bottom and click “Add Server” or “Add External Server”.
- Enter the following:
- Server Name: (Anything you want, e.g., “My Server”)
- Server Address (IP):
your.server.ip.here - Port:
19132(default Bedrock port, unless changed)
🖼️ [Image to follow: Add Server screen with fields filled out]
✅ Step 5: Save and Join
- Click Save or Play to connect.
- You’ll be connected if the server is online and accessible.
🖼️ [Image to follow: Connecting to the server / in-game view]
🔧 Troubleshooting Tips
- Make sure your internet is working.
- Check if the server IP and port are correct.
- Make sure the server supports Bedrock Edition, not Java.
- If you’re on console, custom server support might be limited (requires DNS tricks or third-party apps).
In the address bar type: neph.playwn.co
In the port box type: 25565